How to Use OCR to Add Products to Shopify From a Supplier Invoice
TL;DR
OCR reads the printed text off a scanned invoice so you don't have to retype it, but a boutique catalog needs more than text: sizes, colors, SKUs, and marked-up retail prices all have to land in the right columns. Ohavah reads your supplier invoice and generates a Shopify-ready CSV with every variant and price filled in, so a new shipment becomes live products in about two minutes.
If you have ever tried to scan a supplier invoice to avoid typing 200 rows into Shopify, you already know the letdown. You searched for a way to skip the data entry, found something about OCR, and expected your products to appear in your store. Instead you got a wall of text and still spent the evening building a spreadsheet.
OCR is a legitimate tool and it does help. It just does a smaller job than the ads suggest, especially when the finish line is a formatted Shopify import. Here is exactly what it does, where it stops, and how to get from a scanned invoice to live products without the manual slog.
What OCR Does (and What It Doesn't)
OCR stands for optical character recognition. It looks at an image of a document, a scan, a phone photo, a flat PDF, and works out which letters and numbers are in the picture. To a computer, a scanned invoice starts as a photograph; OCR is what turns that photo back into text you can select, copy, and edit.
That is useful on its own. If a vendor sends a paper invoice or a PDF you can't highlight, OCR lets you copy the numbers instead of retyping them. For plain paperwork, that is the whole job.
A product catalog is where it falls short. OCR gives you accurate text, but Shopify doesn't want text. It wants a spreadsheet with specific columns in a specific order, and bridging that gap is still on you.
Why a Catalog Is More Than Text
Here is the difference between what OCR reads off the page and what Shopify's importer actually needs:
| What's on the invoice | What Shopify needs |
|---|---|
| A style listed with sizes across a row | One variant row per size and color, sharing a handle |
| Wholesale cost | Your retail price, after markup and rounding |
| A vendor style code, maybe | A clean, consistent SKU and a URL handle |
| A block of product names and numbers | Exact columns: Handle, Title, Option1/2, Variant Price, Variant SKU, in order |
A single dress in five sizes and three colors is one line on the invoice and fifteen rows in Shopify. OCR reads "XS S M L XL" across the page; it doesn't fan that out into rows, it doesn't apply your 2.2x markup and round $22 up to $48.99, and it doesn't build the SKUs. That expansion and cleanup is the part that eats the hour, and it's the same work every time a shipment arrives.
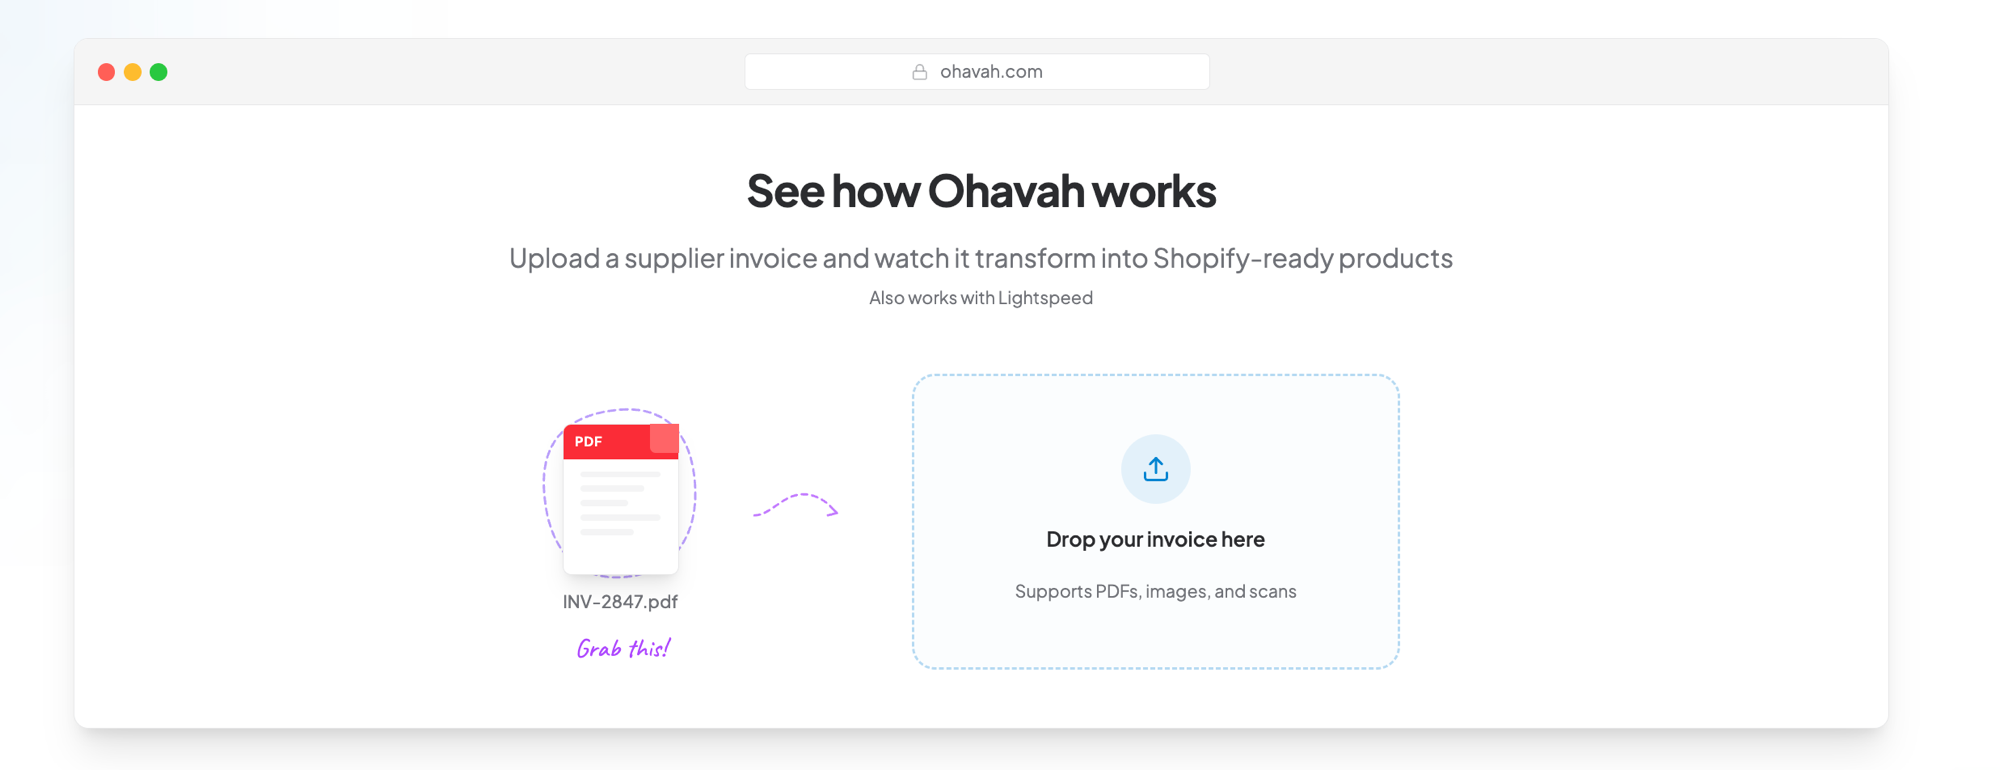
Go beyond OCR: get a finished Shopify CSV from your invoice
Ohavah reads your supplier invoice, expands every size and color into variant rows, applies your markup, and builds the Shopify-ready CSV. No retyping, no rebuilding.
From Scanned Invoice to Shopify, by Hand
If you want to keep doing it yourself, OCR can still cut some of the typing. Here is a sane path:
- Get a clean scan. A flat, straight-on scan or photo reads far more accurately than a wrinkled receipt shot at an angle. If your vendor can email a PDF instead of paper, take it.
- Run it through OCR. Most PDF apps and phone scanner apps have OCR built in. The goal is editable text or a spreadsheet, not a picture.
- Start from Shopify's template. In Products > Import, download the sample CSV so your columns are right from the start. Our Shopify CSV format guide explains what each one does.
- Rebuild the variants. For each style, create one row per size-and-color combination, sharing a handle, with the title only on the first row. There is no shortcut on the row count.
- Price with a formula, not by hand. A column like
=ROUND(wholesale * 2.2, 0) - 0.01turns a $22 cost into $48.99. Set it once and copy down. - Spot-check, then import. Confirm lowercase hyphenated handles, no dollar signs in the price column, and a handle on every variant row. Then upload through Products > Import and review the preview before confirming.
It works. It's just slow, and you repeat the whole thing for every vendor, every restock.
Or Let Ohavah Do the Reading
Skipping that middle is why Ohavah exists. You upload the supplier invoice as a PDF and get back a finished Shopify CSV instead of a raw transcript.
Here is how it works:
- Upload your supplier invoice or purchase order as a PDF.
- Configure your vendor settings once: markup multiplier, rounding, SKU format, and size preferences.
- Download a Shopify-ready CSV with products, variants, SKUs, and prices already filled in.
Ohavah reads the invoice, expands every size and color into its own row, applies your pricing rules, generates the SKUs, and matches Shopify's column order exactly. The hour of reading, retyping, and fixing import errors turns into about two minutes of reviewing and uploading. For the full walk-through, see turning supplier invoices into Shopify products.
A Few Tips Either Way
Keep SKUs consistent. Whatever format you pick, use it every time so reorders and inventory stay clean.
Sort out images separately. OCR won't find product photos. Once your products are in, Photo Finder pulls the images for the styles you ordered.
Validate before you go live. A five-minute spot-check of handles and prices beats untangling duplicate products after the fact.
On Lightspeed Instead of Shopify?
If your shop runs on a POS, the reading is the same and only the output changes. We cover it in using OCR to add products to Lightspeed R Series, including the two-file import Lightspeed expects.
Either way, the takeaway holds: OCR is a good first step, but it hands you a transcript, not a catalog. The hours live in everything after the reading, and that part is worth automating.
Related next steps
 LacyWillowmere BoutiqueCalled it “an absolute game changer” for launching her new website.